![]()
![]()
![]()
![]()
| Search: |
|
How To Create a New Role Using the Client Monitor
|
Overview: This walkthrough shows how to create a Role using the Client Monitor.
The Client Monitor is available only in the Classic Client. Granule 2000 must be on your NAV license in order to use the Client Monitor.
Even though the Client Monitor is available only in the Classic Client, the recording that is made in the Classic Client can be used in both the Classic Client and the RTC.
Recordings are made in a company that has data in it. This company is set up as a "Recording Only" Company. When a recording is created, the recording can then be copied into the Easy Security Company where it can be used to create new Roles or add to existing Roles. You can copy a Recording from the "Recording Only" Company without creating a new Role. You can use the Copy All Recordings from another Company feature from the Recordings window. Click on the link below and refer to the section "Recording Only set up of Easy Security" for information on how to set up a recording only company. Easy Security: Installation and Setup (Logins and Permissions) To create a new role using the Client Monitor: Before you start the Client Monitor, close the database and reopen it. This clears the Object Cache. This ensures that the Client Monitor will capture all the object activities performed during the recording process. Alternatively you can set the Object Cache to zero under Tools/Options. Have NAV open to the correct location to capture just the data required to perform the functions of the Role being created. This will reduce the amount of data captured by the Client Monitor. For this example have NAV open to Purchase Orders. NOTE: Be sure to start the recording prior to opening the Purchase Order. Also be sure to close the Purchase Order before stopping the recording. The same principle can be used to create any Role using the Client Monitor. To view a 12 minute video on recording permissions with the Client Monitor click the link below: Recording with the Client Monitor To make a recording using the Client Monitor: 1) Click Tools/Client Monitor to open the Client Monitor window. Click on the Options Tab and make sure the Include Object table activity box is checked. 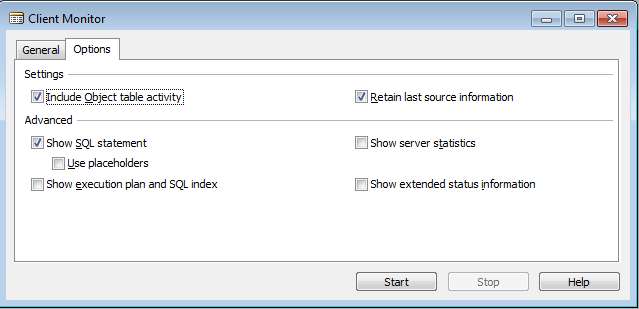
2) Click the Start button to start the recording. Close the Client Monitor window. The Client Monitor will continue to run in the background until the Stop button is clicked. 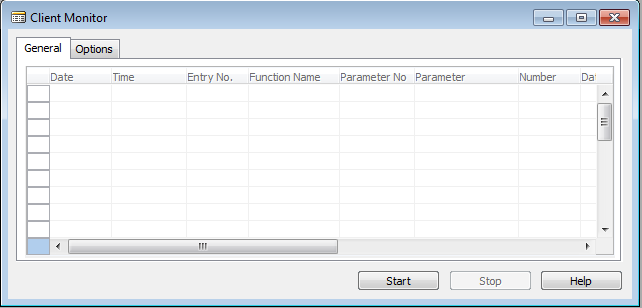
3) Open the Recordings window. Create a new line for the Recording and enter a meaningful Description. Click on Functions/Record Permissions to open the Record Permissions window. Please note the field Role for Both Clients. This means the recording can be used in either the Classic Client or the RTC. 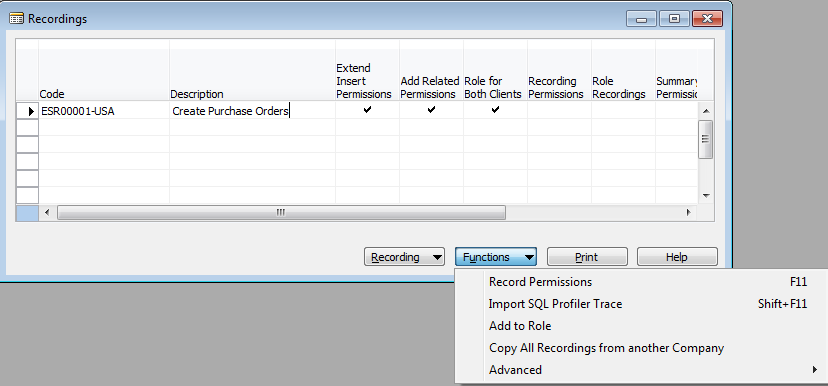
4) Leave the Record Permissions windows open while the Purchase Order is created. 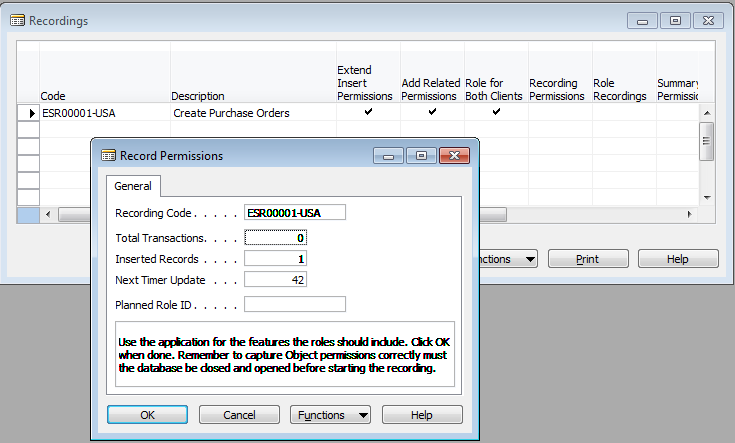
5) Create a new Purchase Order. Add a line for an item, resource, etc. plus a quantity. The delete permission is not given by default. To include the delete permission, add a second line and delete it. If you wish the user to be able to delete Comments, add a Comment and delete it. Close the Purchase Order. 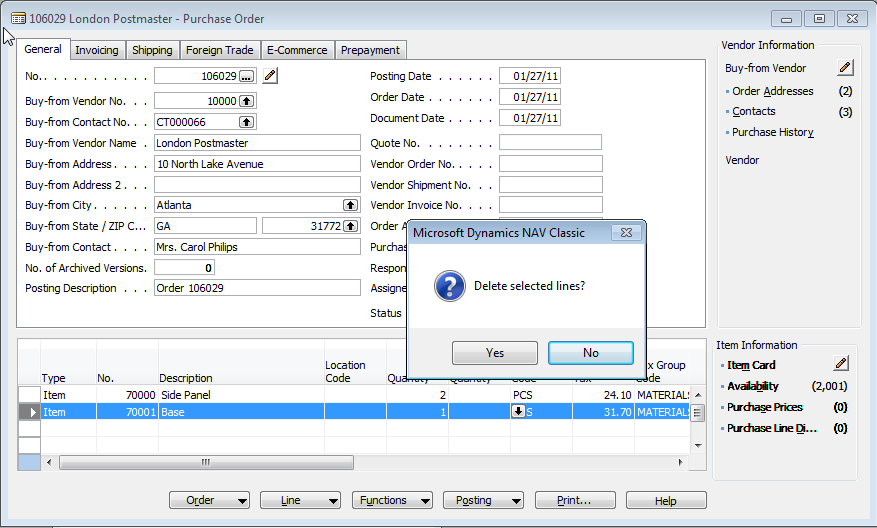
6) Return to the Record Permissions window and click OK on the Record Permissions window. 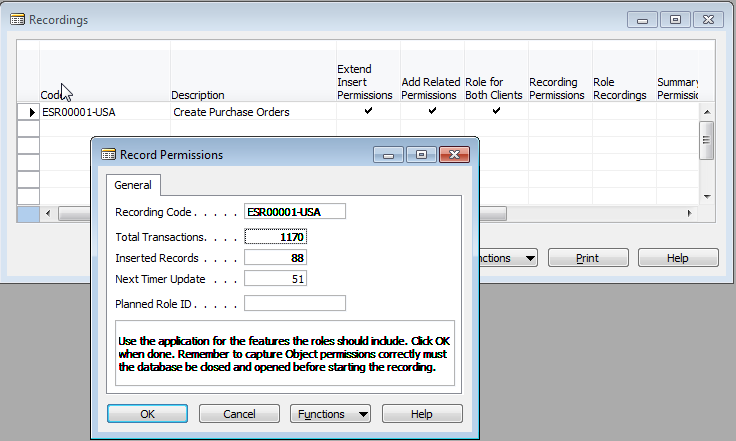
7) Receive a message displaying the number of transactions recorded and the number of permissions inserted. Click OK to close the window. Close the Recordings window. 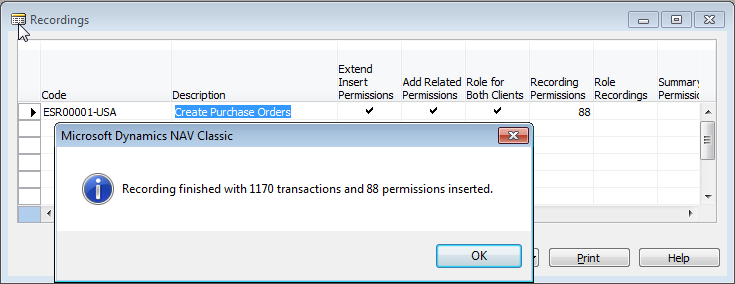
8) Stop the Client Monitor. 9) Open the company that is used for setting up security. In our example, the company is called Easy Security Company. Open the Roles list. Create a line for the new Role for the new Recording. Click on the Role button/Recordings to open the Role Recordings window. 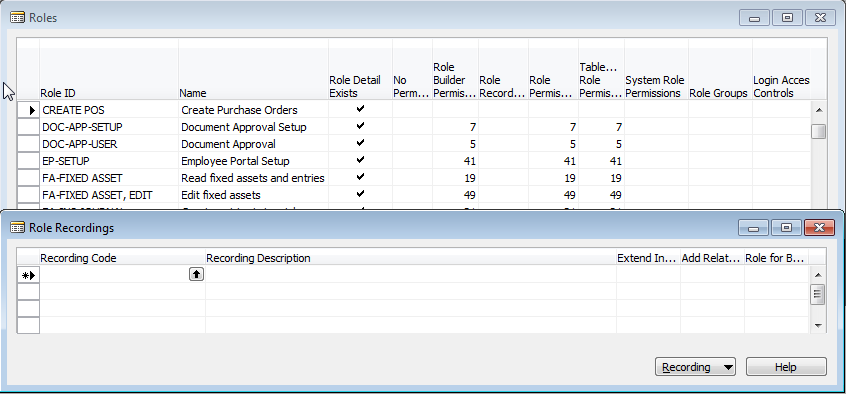
10) Do a lookup in the Recording Code field to open the Recordings window. 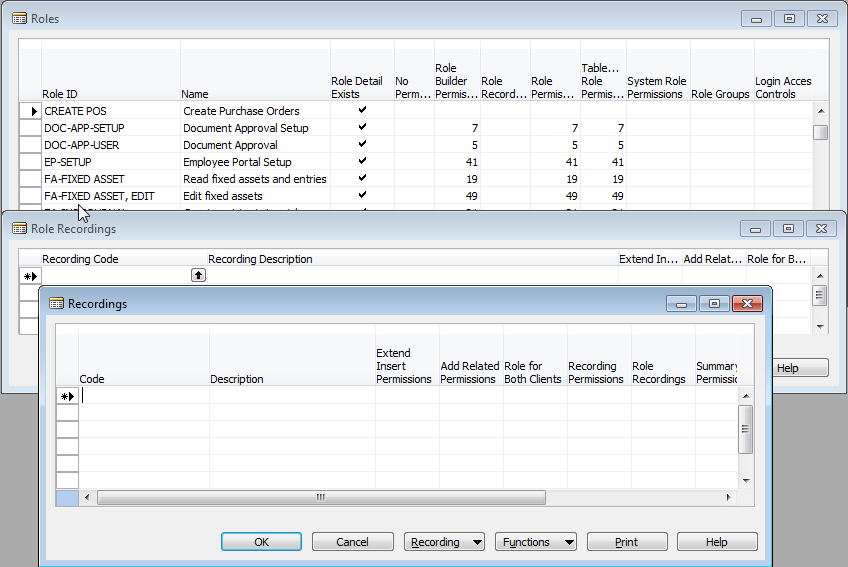
11) From the Recordings window, click on Functions/Copy All Recordings from another Company to open the Live Companies window. 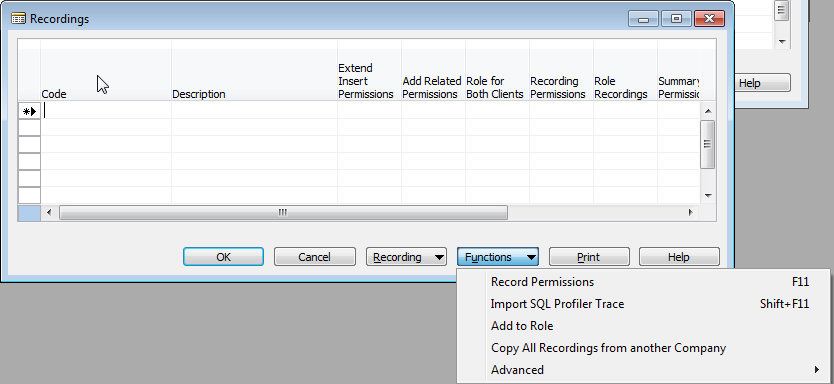
12) Select the company that the recording was made in and click OK. 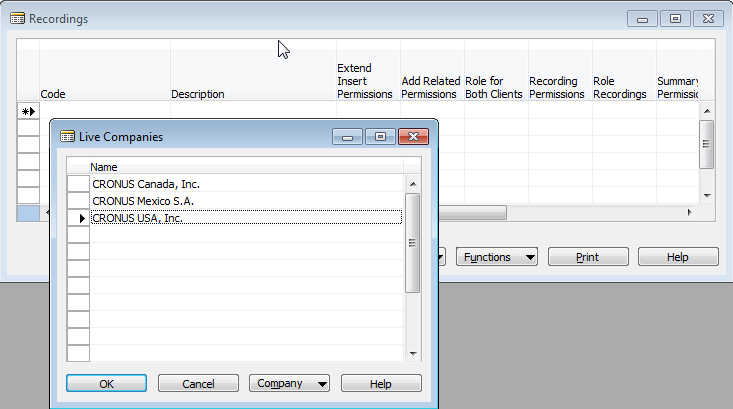
13) The recording made in the Live Company is copied into the Easy Security Company where it can be added to a Role. If more than one recording exists, select the one you need. A message displays the number of Recordings that were inserted. Click OK to close the message. 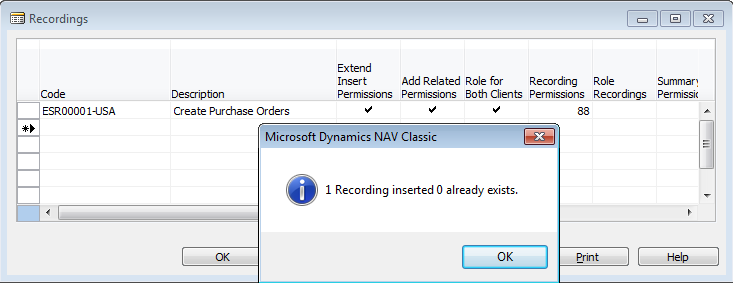
14) Click OK on the Recordings window to copy the recording into the Role Recordings window. Close the Role Recordings window to return to the Roles window. 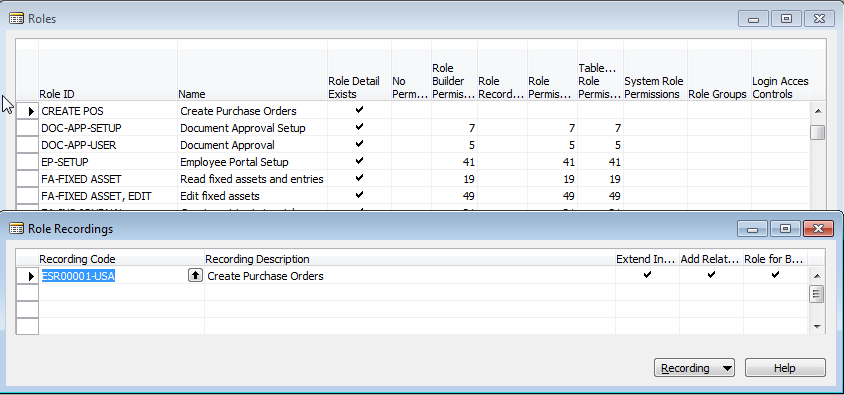
15) With the new Role highlighted, click on Functions/Update Role to update the new Role with the permissions. 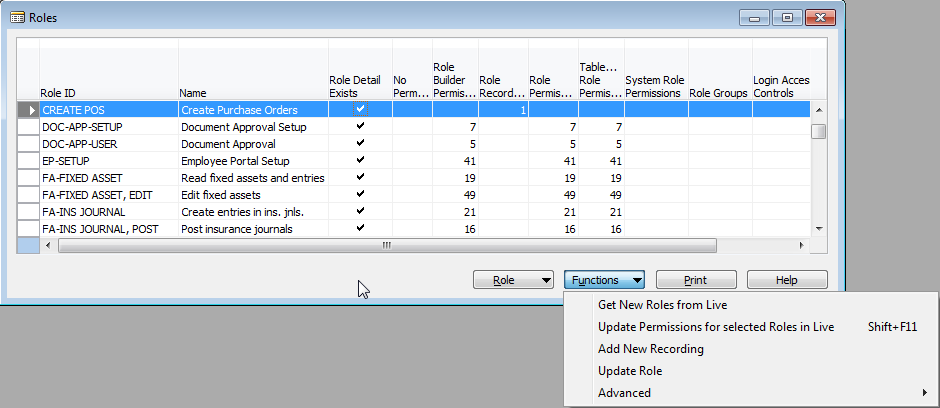
16) A message will display showing the permissions that were added. The Role is now ready to be used in setting up security. 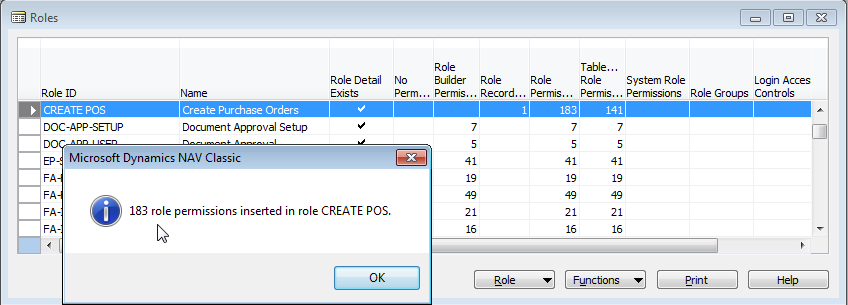
|
|
Like  Don't Like
© 2024 Mergetool.com. All rights reserved. 
|
Related resources
Download software from Mergetool.com