![]()
![]()
![]()
![]()
| Search: |
|
How To Publish Permissions on Specific Data
|
Overview: This walkthrough shows how to Publish Permissions for specific data using the
different publish and update features located throughout Easy Security. The Publish Permissions feature that controls which changes are published from Easy Security to the Live Permissions is accessed from the Logins and Permissions menu. Changes will be published for each box that is marked in the Edit Publish Permissions window. For additional information on what each field in the Publish Permissions window does, please see "Definition of Fields in Publish Permissions". Definition of Fields on the Publish Permissions Window Permissions can be published for specific data without publishing ALL changes that have been made in Easy Security. For example, let us say changes were made to Logins. For ease of use, we want to use the Publish Permissions feature located in the Advanced features of the Login Window. We do not want to publish ALL changes such as changes made to Roles and Groups. To prevent this information from being published, checkmarks are removed from the boxes on the Publish Permissions window that pertain to Roles and Groups. Similar changes can be made if only Roles need to be published. Enter checkmarks only in the fields dealing with Roles. The same principle can be used to publish permissions for the All Free Role. It is usually recommended that all of the fields on the Publish Permission window be checked except for the Status field. And it is very important that the Test Requirements field always be checked to keep the data in a consistent state. It is also suggested that a meaningful name be used in the Restore Point Description field. This can make locating the correct Restore Point much easier. If the Restore Point Description field is not populated, Restore Points will be identified using the default numbering system displayed on the Restore Point Tab in Security Setup. Only experienced users should remove checkmarks from the other fields in the Publish Permissions window. You can also use the Update Permissions for selected Roles in Live feature that is available in a couple of places. The Update Permissions feature publishes permissions to the Live Permissions for only the selected Role(s) and does not publish permissions for other data regardless of the settings in the Publish Permissions window. This feature is a very useful feature for saving time during publishing. Updating a few Roles takes much less time than processing a full Publish routine. 1) Publish Permissions can be accessed from multiple places: Login Card, Logins List, Restore Points and Role Details. The Update Permissions for selected Roles in Live feature can be accessed from a Role Card or from the Role List. Running the process from a Role Card will update that one Role. Click on Update Permissions for selected Roles in Live and the following message displays. Click Yes to update the Role in question. 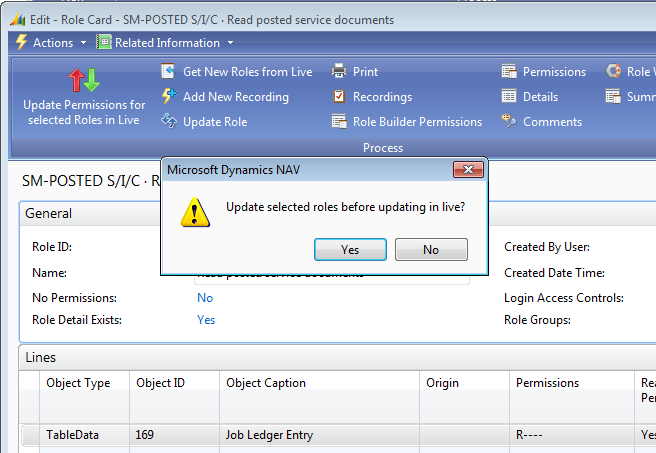
2) The following message is displayed confirming the Role that was updated. Click OK to close the message. 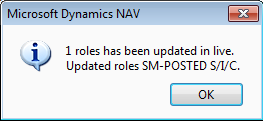
3) Running the Update Permissions for selected Roles in Live feature from the Roles List will update the selected Roles. Select the Roles that you want to update and click the Update Permissions feature from the Role List. Click Yes to update the Roles in question. 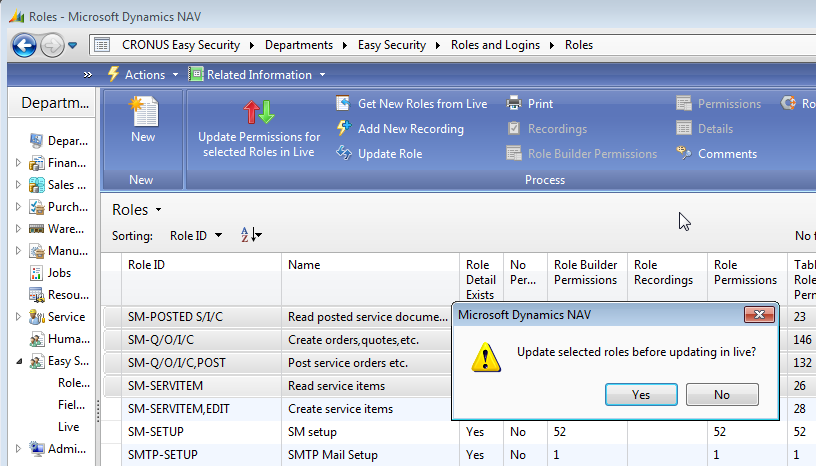
4) The following message is displayed confirming the Roles that were updated. Click OK to close the message. 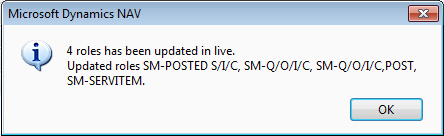
|
|
Like  Don't Like
© 2024 Mergetool.com. All rights reserved. 
|
Related resources
Download software from Mergetool.com