![]()
![]()
![]()
![]()
| Search: |
|
How To Add an Access Control to a Login
|
Overview: This walkthrough shows how to use Access Controls to regulate which features
a user has access to in NAV. Logins must still be created and deleted using the standard NAV Security
routine of Tools>Security>Windows/Database Logins or Windows Logins. However in standard NAV the access information is displayed one piece at a time via multiple windows.
Easy Security displays all the access information in one window for the selected Login.
This provides an inclusive overview and makes it easier to set up and maintain security.
Therefore use Easy Security to set up and maintain security in NAV instead of using the security feature
in standard NAV. Easy Security simplifies the process of setting up and maintaining security.
1) Open the Login Card that you wish to add Access Controls to. Click Access Controls to open the Edit Login Access Controls window. NOTE: To add multiple Access Controls at the same time, please see: How To Add Multiple Access Controls to a Login 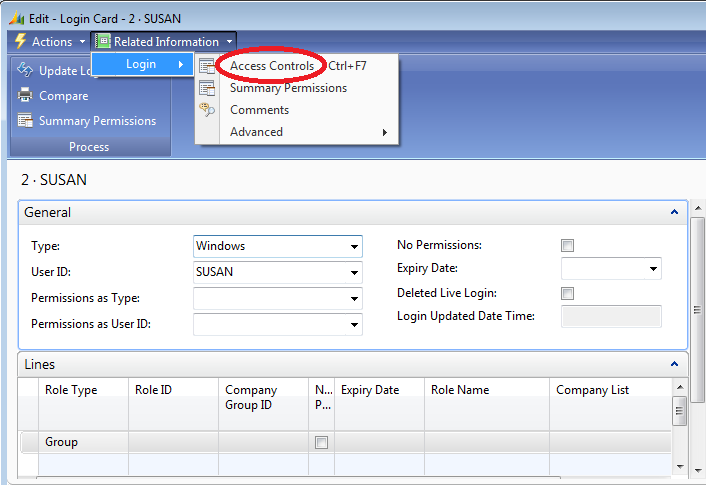
2) Select the Role Type and the Role ID you wish to add. Select the Company Group ID you wish to add. If you do not select a Company Group ID the message "Insert Permission for the "Blank" Company Group?" appears when you tab off the Company Group ID field. 3) Click Yes if you wish to provide the Login access to all of the companies in the database for this Role. NOTE: Inserting permissions for the "Blank" Company Group ID for a Login/Role is usually not done. A "Blank" Company Group ID for a Role means that the Login will have access to ALL the Companies in the database. This includes the Easy Security Company where security is maintained for all Companies. The "Blank" Company Group is generally assigned to only a few specific Logins. Very seldom is it necessary for a Login to have access to ALL Companies. 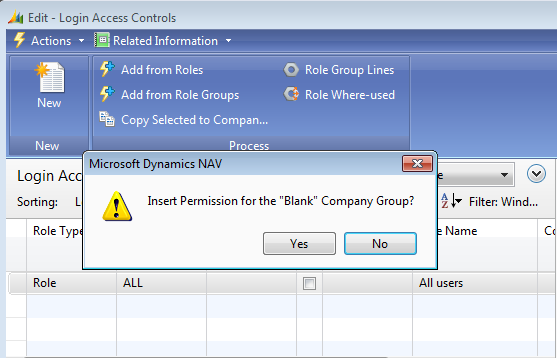
4) Click No if you do NOT wish to provide the Login access to all the companies in the database. (It is normal for Roles/Logins to be assigned to specific Companies or Company Groups.) You must then select one or more Companies in the Company Group ID field. The selected companies will display in the Company List field for that Role. 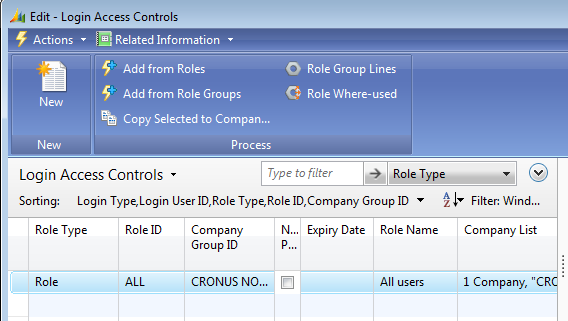
5) Add additional Roles if desired. Click OK to close the Edit Login Access Controls window. Click Update Login to update the permissions to the Login. A Summary Permissions message displays the number of Roles and the number of Permissions added to the Login. Click OK to close the message. Close the Logins window. NOTE: For more information on how to use the Expiry Date and No Permissions fields in maintaining Roles and Logins, please see: How To Temporarily Add Permissions to a User 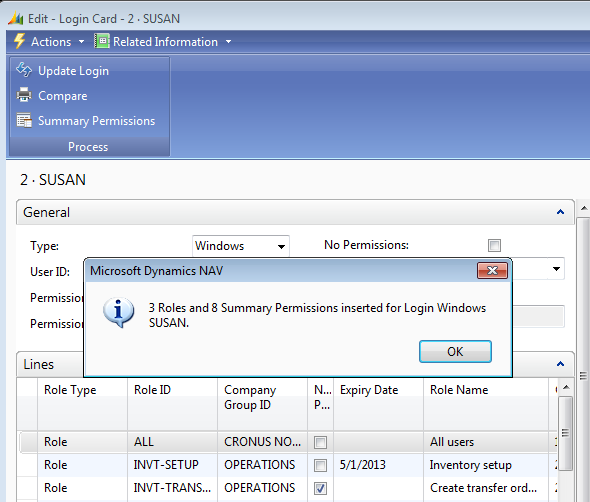
6) Run the Publish Permissions routine to publish the update to the Live Permissions. 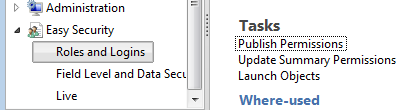
|
|
Like  Don't Like
© 2024 Mergetool.com. All rights reserved. 
|
Related resources
Download software from Mergetool.com